
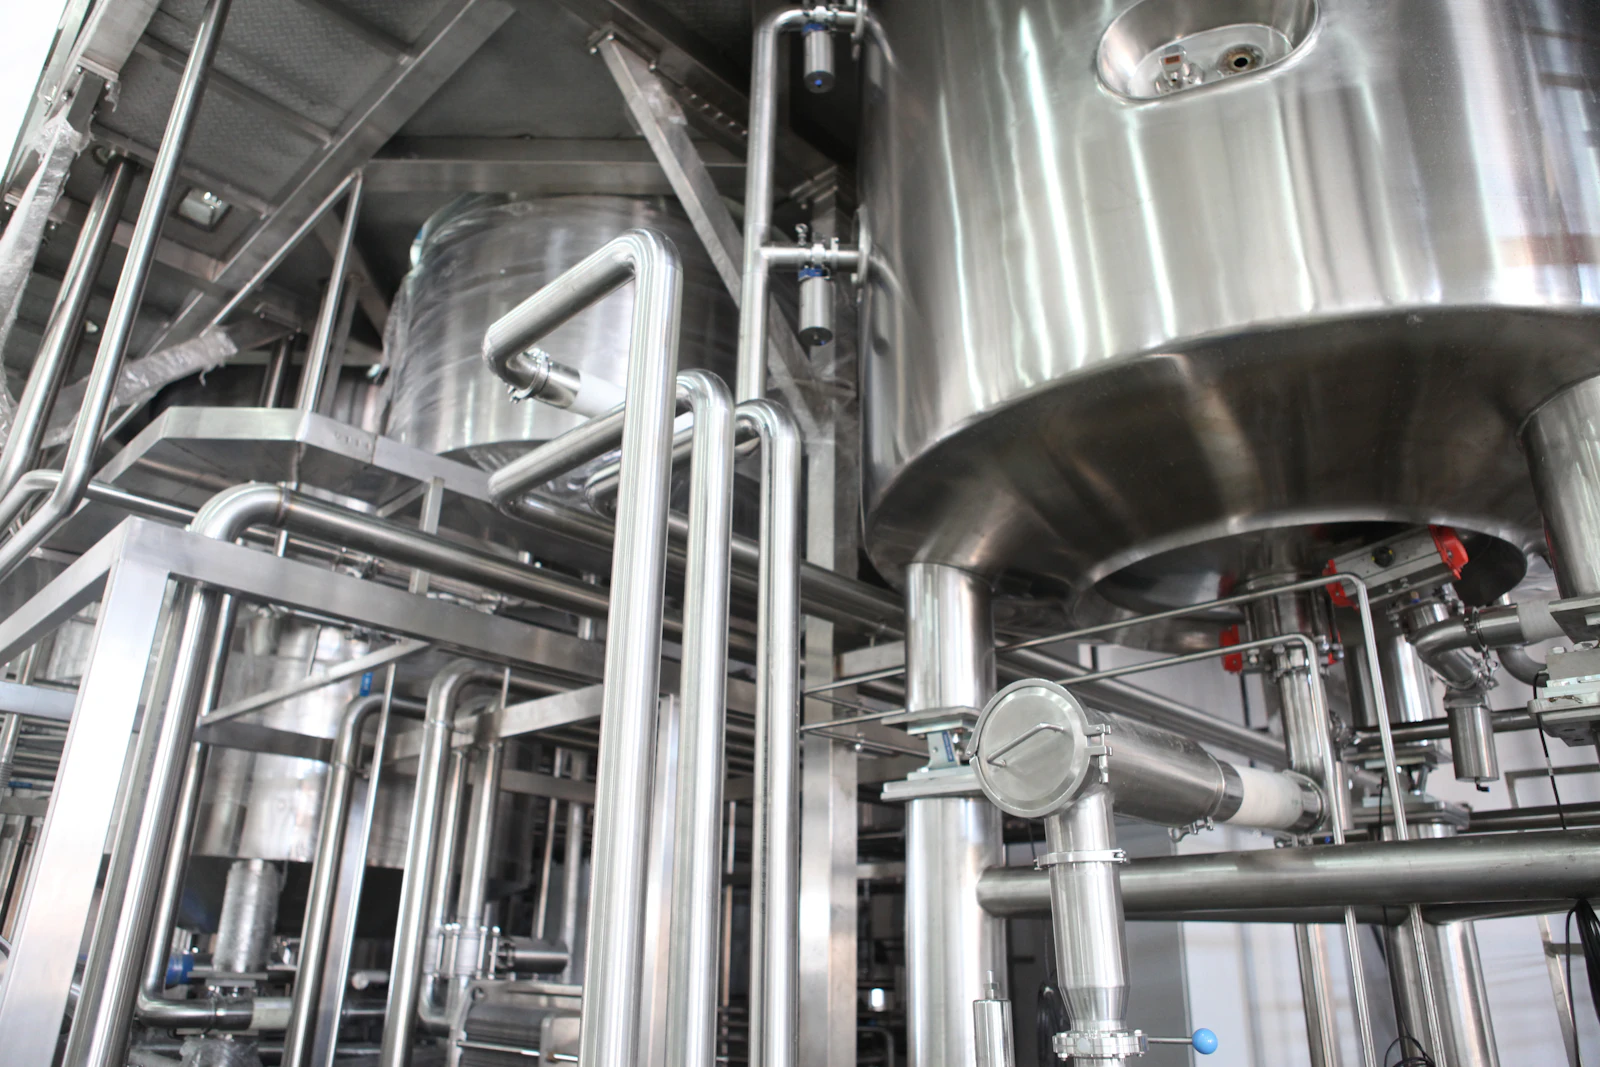
Double seat valves — often called mixproof valves — let a dairy or beverage plant run product and CIP through neighbouring pipes without risk of mixing. GEA valves are among the most common in Europe, and they are extremely reliable — as long as the seals are replaced on time.
This guide explains how these valves fail, how to plan seal kits, and what to keep in stock.
How a double seat valve protects your product
The valve has two independent seats with a leakage chamber between them. If either seal fails, liquid escapes to the leakage outlet instead of crossing into the other line. That makes failures visible early — but only if someone is watching.
The parts that wear are:
- Seat seals on the upper and lower plugs.
- Shaft seals and O-rings around the stem.
- Housing seals between the valve body sections.
- The control top module that switches and monitors the valve.
Common failure signs
- Liquid at the leakage outlet during normal operation — a worn seat seal.
- Slow or incomplete switching — air supply issues, solenoid wear or actuator seal problems.
- Feedback errors on the PLC — a faulty control top module or proximity sensor.
- Product residue after CIP — damaged seals trapping product in the valve.
- Audible leaks at the actuator — worn actuator seals.
Never plug or ignore a dripping leakage outlet. It is the valve's way of telling you the seal kit is due.
Choosing the right seal material
Seal material decides service life. The three common choices:
- EPDM — the standard for water-based products and hot CIP.
- HNBR — better resistance to fats and oils, common in dairy and dressings.
- FKM — good chemical resistance, but check its performance with steam and hot water.
If seals harden, crack or swell early, the material is usually wrong for the product or cleaning chemistry — not a quality issue. Your supplier should ask about both before quoting.
Recommended maintenance intervals
A typical schedule for GEA double seat valves:
- Daily: check leakage outlets during production.
- Monthly: confirm switching times and feedback signals.
- Every 6–12 months: replace the full seal kit on each valve.
- Every 2–3 years: inspect plugs, stems and housings for wear or pitting.
Keep a log per valve position. Valves near hot zones such as pasteurisers and heat exchangers usually need the shorter interval.
What to keep in stock
- One complete seal kit per valve size and type installed on site.
- Two spare double seat valves for the most critical positions.
- One or two control top modules.
- Solenoid valves and air fittings for the actuators.
This kit lets your team service valves during planned stops and replace a failed valve within one shift.
Instrumentation around the valve
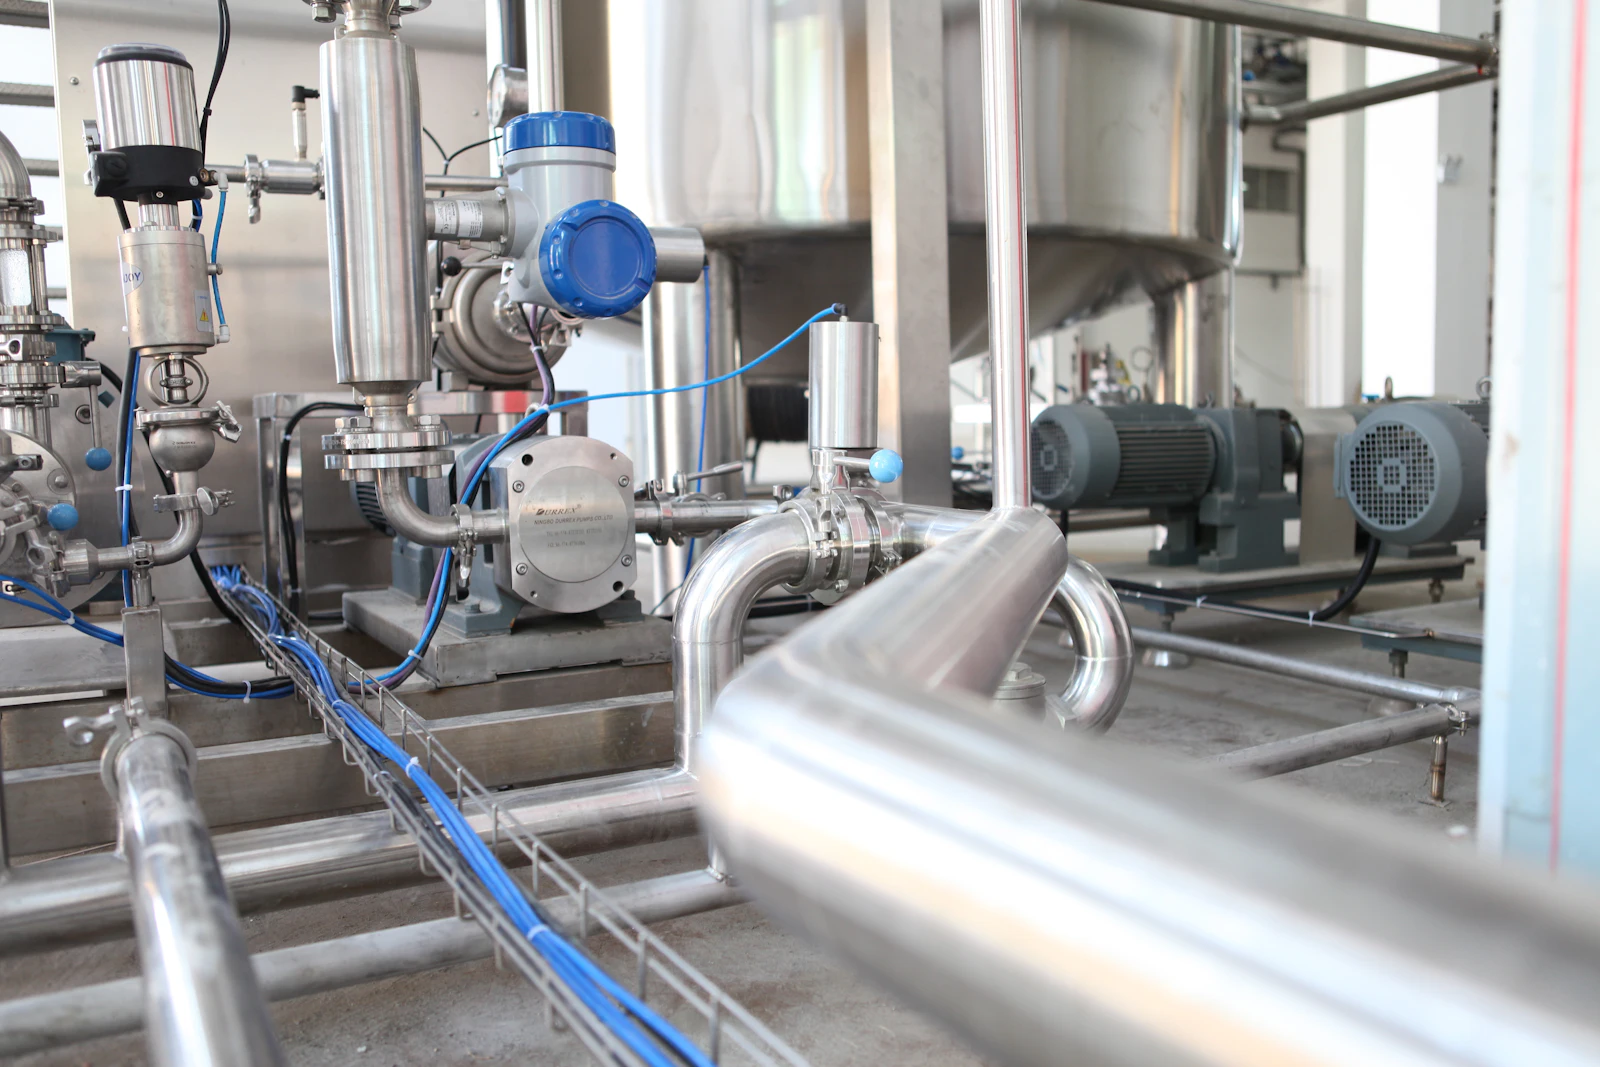
Valve problems are often first noticed by instruments. If flow, level or temperature readings drift, check the sensors as well as the valve. We supply Endress+Hauser flow sensors, temperature RTDs and pH probes for the same process lines.
Plants running SPX Flow valves and pumps alongside GEA can consolidate both into one service plan — see the SPX elastomer seal rings.
Getting seal kits fast
Seal kits are small, light and easy to ship, which makes them ideal for express delivery. Send the valve type, size and seal material, and our spare parts team will confirm availability and lead time.
For larger valve replacement projects, equipment financing can spread the cost of multiple valves or control tops over time.
Key terms explained
Double seat valve (mixproof valve): a valve with two seals and a leakage chamber that keeps two different media separated.
Leakage chamber: the space between the seats, open to the atmosphere, where any leak becomes visible.
Seat lifting: briefly opening each seat during CIP so the seal area is cleaned.
Control top: the module on top of the actuator that holds solenoid valves and position feedback sensors.
Step-by-step seal kit replacement
- Isolate and drain both pipelines and lock out the air supply.
- Remove the actuator and control top carefully, noting the position settings.
- Dismantle the valve insert and remove all old seals and O-rings.
- Clean and inspect plugs, stems and housings for scoring or pitting.
- Fit the complete new seal kit using the correct lubricant for food contact.
- Reassemble and re-set the feedback positions in the control top.
- Test switching, seat lifting and leakage detection before returning to production.

Planning stock across a large site
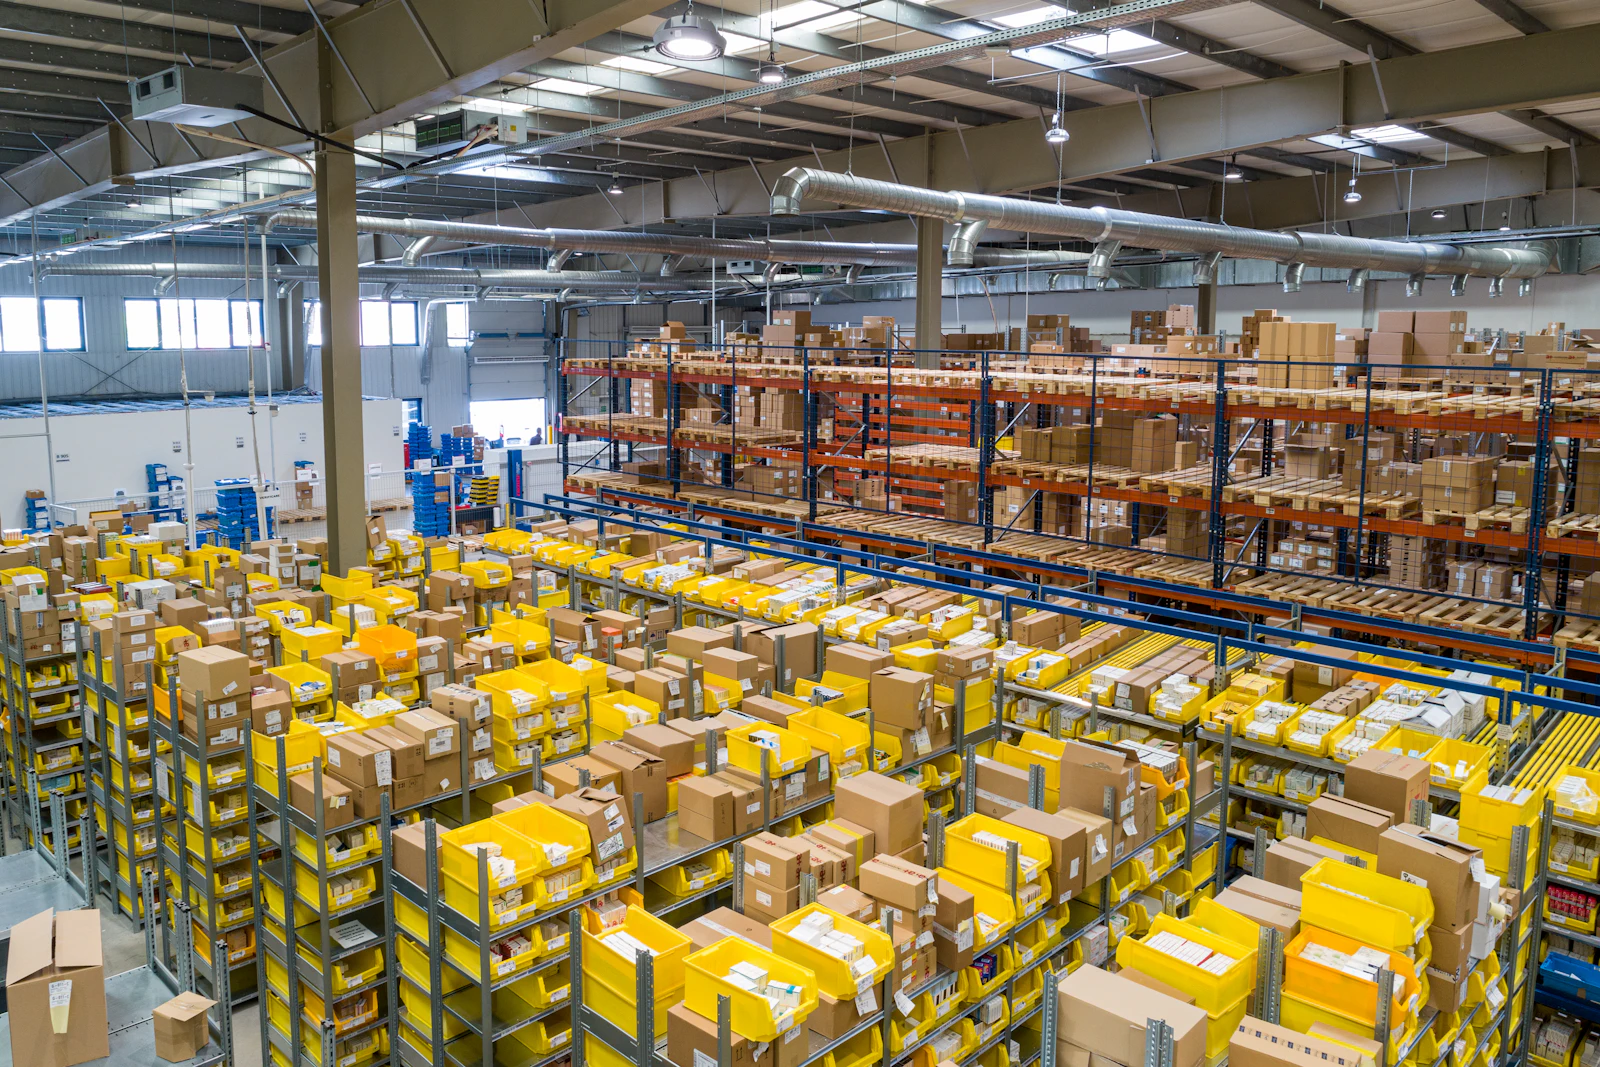
Large dairy and beverage sites often run dozens or hundreds of mixproof valves. Group them by size and seal material, then hold enough kits for one service cycle of the largest group. Order the next batch as soon as the current one is used. This keeps stock lean while avoiding the situation where kits are missing on the planned service day.
A worked example from a dairy
A dairy processing plant had more than 120 GEA double seat valves across its process area. Seal kits were replaced only when a valve leaked, so maintenance was always reactive and CIP-related stops were common.
The team introduced a simple plan: valves were grouped by temperature zone, high-temperature valves moved to a six-month seal interval, and the rest to twelve months. A small stock of seal kits for every valve size was kept on site, along with two spare control tops.
Within a year, unplanned valve stops fell sharply and seal-kit consumption became predictable enough to order in batches at a better price.
Common mistakes to avoid
- Ignoring a dripping leakage outlet — it is an early warning, not a nuisance.
- Using one seal material everywhere regardless of product and CIP chemistry.
- Mixing old and new seals in the same valve.
- Forgetting the actuator seals and air supply when diagnosing slow switching.
- Not recording which valve got which kit — without history, intervals are guesswork.
Key takeaways
- Double seat valves are reliable when seal kits are replaced on a planned schedule.
- Liquid at the leakage outlet means a seal is worn; plan replacement promptly.
- Match seal material to product and cleaning regime: EPDM, HNBR or FKM.
- Keep seal kits for every size on site plus spare control top modules.
- Check sensors and instruments when valve problems appear in process data.